lisa-marie mueller
let's build the next thing together
create curtain wall grid lines link
June 12, 2020
 As mentioned last week, for June I have pledged to donate to a different organization each week. This week, I have donated to my local food bank: the Alameda County Community Food Bank. If you are able, this is an excellent way to support others. Food banks are doing even more for our communities right now when other support may not currently be available like school lunch programs.
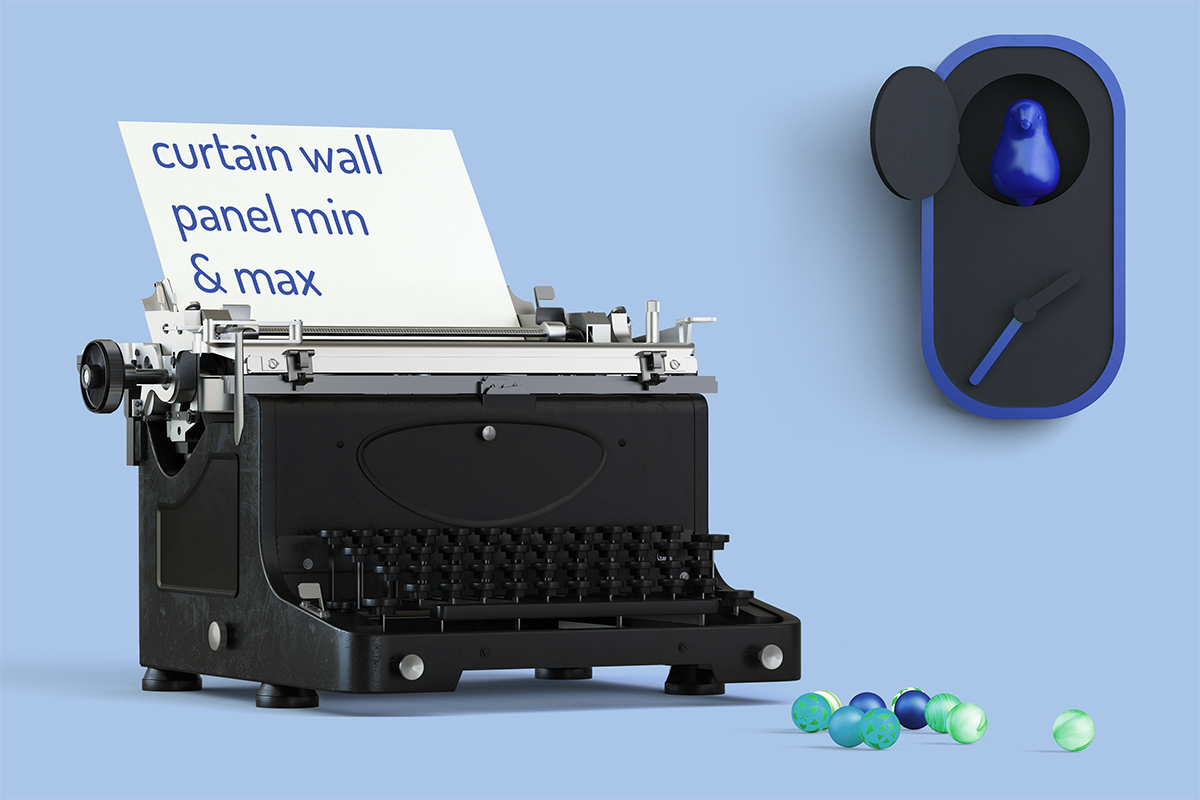
Last week, we found the minimum and maximum coordinate of the panel in our curtain wall so this week we can use it to create the grid lines. We covered briefly that to create a grid there are three parameters we need. These are a boolean to determine if it is a U (true) or a V (false) gridline, a position for placing the grid line, and a boolean to determine if it is adding the entire line or just one segment of it. We also know that the position will change because we need to step along the curtain wall to create multiple grid lines until we reach the end.
goals and considerations
- create the grids by entering width and height information
- randomly delete curtain wall grids but allow for user configurations
- randomize curtain wall panel materials
- option to remove mullions
position - horizontal grid lines
We can create a new method to create the horizontal grid lines and call it MakeHorizGrids. We are not returning anything but we do have a number of parameters: the document, the curtain wall that the user had selected, the minimum height of the panels, and the minimum and maximum coordinates of the panel that we found last week. The minimum height of the panels will be one of the user inputs we need in order to create the grid lines.
We can use a while loop to check if the new position we are proposing is still located on the curtain wall by comparing the Z coordinate of the position to the Z coordinate of the curtain wall’s maximum. If it is less, then we are still locating the grid on the wall. For horizontal grid lines, we are locating the next grid up the curtain wall in the Z direction which means we can just take the minimum height and add it to the Z coordinate.
position - vertical grid lines
For the vertical grid lines we start with the same method but instead
of moving up the curtain wall, we are moving along the curtain wall. In addition to the curtain wall min (the bottom left corner of the curtain wall), we also need the bottom right corner of the curtain wall - the other endpoint. We can create that from the X and Y coordinates of the maximum and the Z coordinate of the minimum. Since we are starting in the bottom left corner, to create vertical grid lines we are moving the position by some factor in the X and Y direction.
Starting with our curtain wall minimum, we know the length of the curtain
wall is √((X2-X1)2 + (Y2-Y1)2). The vector for the direction we need to
move is the bottom right corner (btmCorner) minus the bottom left corner
(cwMin) divided by the length of the curtain wall (distance).
We can again use a while loop to check if the distance we have moved is less than the total distance minus the minimum width of a panel to ensure the next grid line is still located on the curtain wall. If it is less, then we can add our minimum width multiplied by our direction vector to the X and Y of the coordinate to move along the curtain wall to create the next grid line.
conclusion
Now that we have the correct grid lines created for the curtain wall, we can tackle randomly deleting grid line segments next week.
resources
If you want to learn to code and don’t know where to start check out my posts about Steps to Learn to Code [for architects and designers] Part 1 and Part 2.