lisa-marie mueller
let's build the next thing together
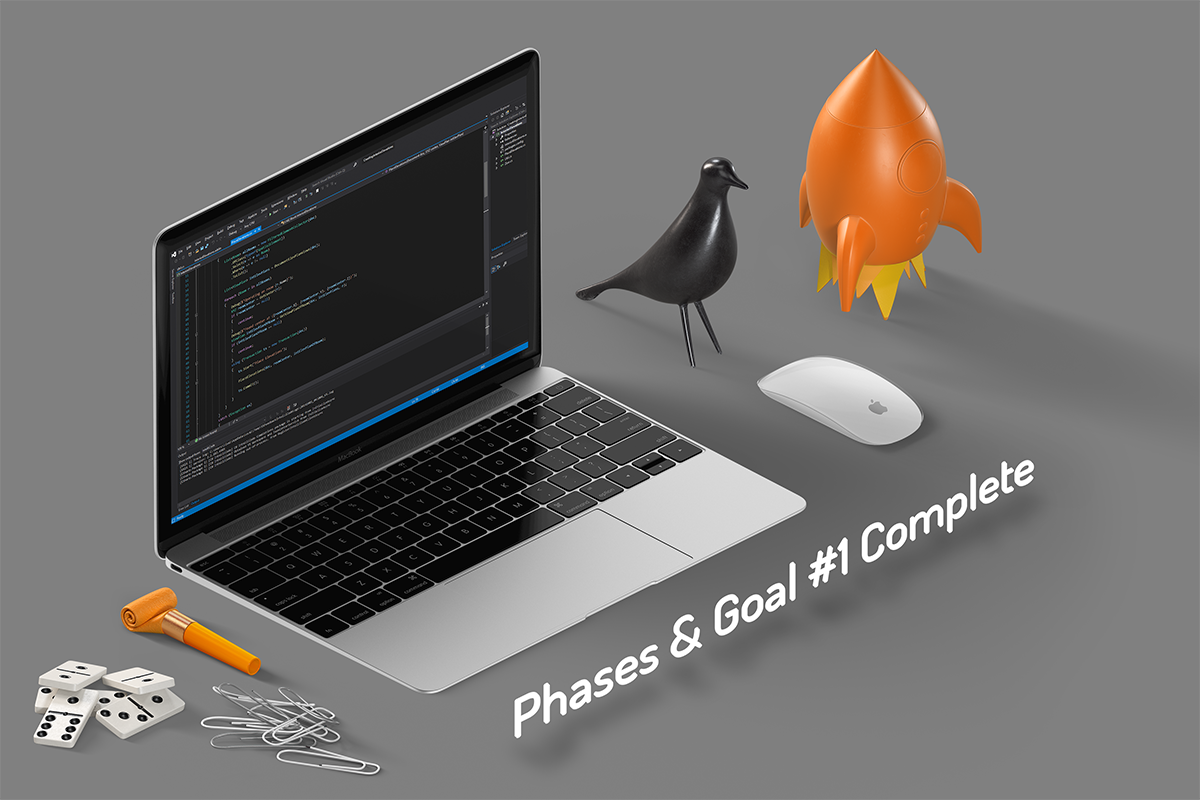
phases and goal 1 complete link
November 1, 2019
 First of all, I hope everyone had a fun and safe halloween! This week we continue on the path to automating interior elevations. As a reminder, I have been building a plug-in that automates various parts of creating interior elevations, and I will continue to develop it. Since this project will evolve as I continue, I have determined to set my primary goal for each stage. With this goal in mind, I will develop a functioning piece of software to meet the goal. Then I will discuss topics that cover key aspects for each step for building the plug-in. At the end of each stage, I will move the plug-in to a public repository on GitHub so you can use it too.
if you missed it:
Part 1: filtered element collector [c#]
Part 2: finding centroids and considering exceptions
Part 3: ViewFamilyTypeId
Part 4: ViewPlanId and Levels
primary goal #1
Create interior elevations for all placed rooms, place the tag at the center of the rooms, place the tag on the correct level when multiple levels exist, ensure the tag is visible on the interior elevation key plans (already in the project), and ensure the interior elevation tags have the proper phase settings.
phases
As I was working on this plug-in, I realized that the interior elevation maker and the interior elevation views are not necessarily created in the same phase as the plan that you use to create them (Part 4). Because of this, I added a few simple steps to find the phase of the view, and set the interior elevation marker and views to this same phase. We can make this adjustment in the PlaceElevations method.
execution
This completes all the elements of our Goal #1, it’s time to put it together. We need to write our Execute method. This will be a public method that outputs a Result. It takes ExternalCommandData, a ref string, and an ElementSet as input parameters.
We set up our initial variables for use in the entire program. Next, we use a try-catch block so that our plug-in does not crash Revit if it fails and so that we can output proper error messages. We use a FilteredElementCollector to filter all of our rooms (Part 1) and then call our method that collects the document’s PlanViews (Part 4). With this information gathered, we can circle through each room in the project, get the center of the room (Part 2), find the PlanView that the room is visible in (Part 4), and place our elevations (Part 3 & Part 4).
We have now accomplished Primary Goal #1 and have a program that places our interior elevations in all of our rooms. It considers projects with multiple levels, and ensures the elevations are in the correct phase. You can take a look at all of the code on my GitHub account. There you can also download the DLL from GitHub so you can use the plug-in too. Enjoy!
Next week we set Goal #2 and jump in to updating some of the parameter properties of the interior elevations.
code summary
resources
If you want to learn to code and don’t know where to start check out my posts about Steps to Learn to Code [for architects and designers] Part 1 and Part 2.